
You want to accept ERC-20 USDT is a tokenized version of the Tether stablecoin running on the Ethereum blockchain, designed for fast and low-cost digital transactions. without handing your keys over to an exchange or a payment processor. You want the money to land in your own pocket, not someone else’s vault. This is called a non-custodial setup. It gives you total control, but it also means you are responsible for the security and the technical plumbing. If you are a merchant, a freelancer, or a solo founder, this guide breaks down exactly how to build that system from scratch.
The Core Concept: Why Go Non-Custodial?
Most people start by putting their crypto on Binance or Coinbase. It is easy. But when you accept payments there, you are relying on a third party to hold your funds. They can freeze your account, delay withdrawals, or get hacked. In a non-custodial model, self-custody refers to the practice where users maintain exclusive control over their private keys and seed phrases, ensuring no third party can access or move their assets. is the default. Only you have the keys. When a customer pays you in USDT on the Ethereum network, those tokens go straight to an address derived from your private key. No middleman. No counterparty risk.
This matters especially for stablecoins like USDT. Because they peg to the U.S. dollar, merchants use them as a reliable store of value for billing. If you lose access to your custodial account, you lose your business revenue instantly. With self-custody, as long as you have your seed phrase (backed up securely), your funds are safe regardless of what happens to any service provider.
Choosing Your Wallet Infrastructure
To accept ERC-20 USDT, you need a wallet that supports the Ethereum network and allows you to generate receiving addresses. You do not need a fancy enterprise solution to start. Many popular wallets work perfectly for this purpose.
- MetaMask: The most common browser extension wallet. It is great for interacting with dApps and generating simple receive addresses. However, it is primarily designed for individual users, not necessarily for multi-user business operations.
- Trust Wallet / Atomic Wallet: Mobile-first options that support hundreds of tokens, including USDT. They store private keys locally on your device.
- Zengo Business: A tool specifically marketed toward businesses wanting non-custodial control. It offers features like multi-user access while keeping the keys under your control.
- Ledger / Trezor: Hardware wallets. These are the gold standard for security. You connect the device to sign transactions, but the private keys never leave the hardware. For serious billing, pairing a software interface with a hardware wallet is the best practice.
If you are just starting out, MetaMask or Trust Wallet is fine for testing. But if you plan to scale, consider a setup that integrates with a hardware wallet or a dedicated business wallet like Zengo Business to manage multiple team members without sharing private keys.
Method 1: The Manual Approach (Static Addresses)
The simplest way to accept ERC-20 USDT is to share a static public address. You copy the address from your wallet and paste it into your invoice, email, or website. The customer sends the exact amount of USDT to that address.
This works, but it has major flaws. First, you cannot automate order fulfillment. You have to manually check the blockchain explorer (like Etherscan) to see if the payment arrived. Second, it is a privacy leak. If you reuse the same address for every customer, anyone can track your entire transaction history. Third, there is no guarantee the customer sent the right amount. Did they send $100 or $10? You have to verify it yourself.
For occasional freelance gigs, this might be okay. For any recurring billing or e-commerce store, manual reconciliation becomes a nightmare quickly. You need automation.
Method 2: Using a Non-Custodial Payment Gateway
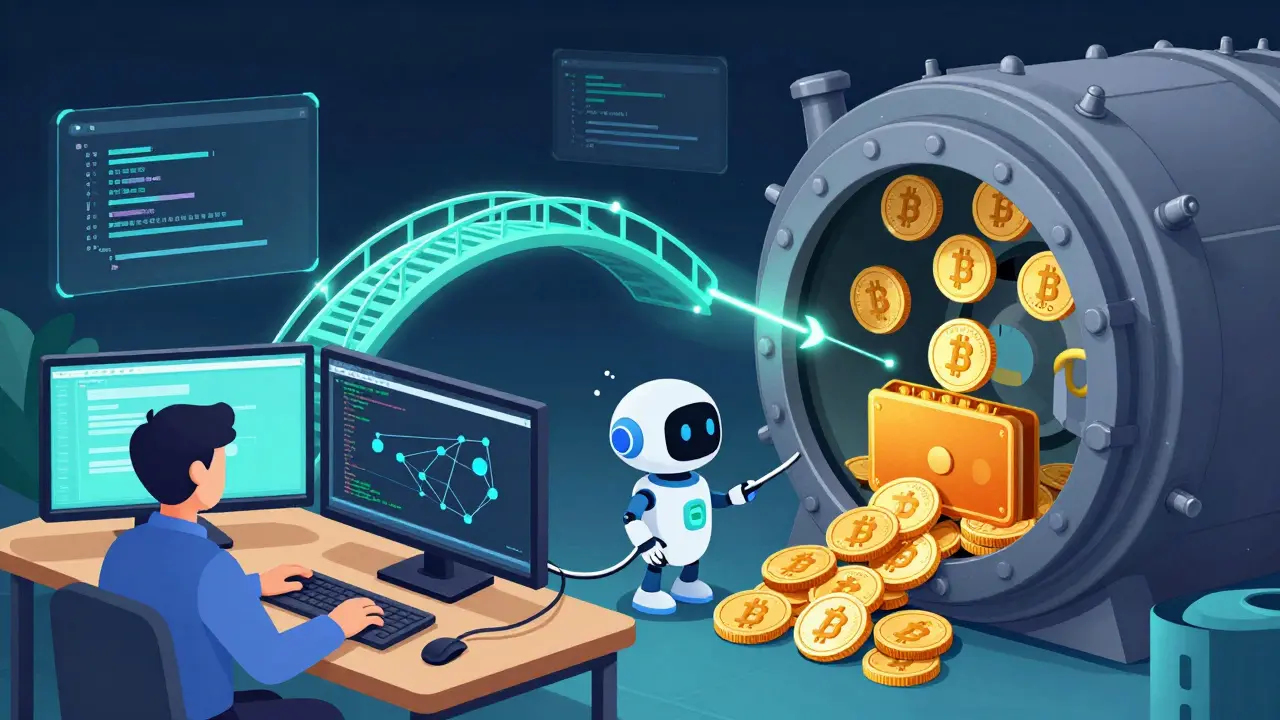
This is where things get interesting. A non-custodial payment gateway acts as a bridge between your website and the blockchain. It generates unique addresses for each invoice, monitors the network for incoming payments, and tells your server when the money has arrived. Crucially, it does not touch the funds. The money goes directly from the customer to your wallet.
Here is how the flow typically works:
- Invoice Creation: Your backend creates an invoice via the gateway’s API. The gateway returns a unique Ethereum address and the expected USDT amount.
- Payment: The customer scans a QR code or copies the address and sends USDT from their wallet.
- Detection: The gateway monitors the Ethereum mempool and blocks. Once it sees the transaction and confirms it meets the required block confirmations, it triggers a webhook.
- Fulfillment: Your server receives the webhook payload (signed for security), verifies the payment, and unlocks the product or service for the customer.
In this model, the gateway provides the convenience of a traditional processor (like Stripe) but retains the security of self-custody. You still hold the keys. The gateway just watches the ledger.
Building the Integration: Technical Steps
If you are a developer or working with one, setting this up involves three main components: a wallet, a gateway, and a backend listener.
Let's look at a practical example using a generic non-custodial gateway structure (similar to services like Blockonomics or TxNod).
Step 1: Connect Your Wallet
You provide your extended public key (xpub) or specific receiving addresses to the gateway. Never give away your private key or seed phrase. The xpub allows the gateway to derive new addresses for invoices but cannot spend funds. This is the core of trustless verification.
Step 2: Set Up Webhooks
Your server needs a public endpoint (a URL) that the gateway can call. Use tools like ngrok during development to expose your local server to the internet. In production, this would be a secure HTTPS endpoint on your VPS or cloud function.
Step 3: Handle the Callback
When a payment arrives, the gateway sends a POST request to your webhook URL. This payload contains the transaction hash, the amount received, and the status. Your code must verify the signature of this webhook to ensure it actually came from the gateway and wasn't spoofed by a hacker.
// Pseudo-code for handling a webhook
app.post('/webhook', (req, res) => {
  const signature = req.headers['x-signature'];
  if (!verifySignature(signature, req.body)) {
    return res.status(401).send('Invalid signature');
  }

  const { txHash, amount, currency } = req.body;
  if (currency === 'USDT' && amount >= invoiceAmount) {
    markOrderAsPaid(txHash);
    notifyCustomer();
  }
  res.status(200).send('OK');
});
This logic ensures that your system only fulfills orders when valid, confirmed payments hit your chain. Note that ERC-20 tokens require more confirmations than native ETH to prevent reorgs. Usually, waiting for 12-20 blocks is safe for high-value transactions.
Security Best Practices for Merchants
Running a non-custodial setup puts the burden of security on you. Here is how to stay safe.
- Never share private keys: Not with developers, not with support teams, not with "secure" password managers unless encrypted properly. If a service asks for your seed phrase, it is a scam.
- Use hardware wallets for storage: While MetaMask is great for daily spending, keep your bulk reserves in a Ledger or Trezor. Some gateways allow you to link hardware devices directly for enhanced security.
- Verify webhooks: Always check the HMAC signature of incoming callbacks. Without this, a malicious actor could fake a payment notification and steal your goods.
- Monitor gas fees: Ethereum gas prices fluctuate. Inform customers that they need enough ETH to cover the transaction fee. If they send USDT without ETH for gas, the transaction will fail or hang indefinitely.
- Backup your seed phrase: Write it down on paper. Store it in a fireproof safe. Do not store it digitally. If you lose it, your funds are gone forever. There is no "forgot password" button in crypto.
Custodial vs. Non-Custodial: A Quick Comparison
| Feature | Custodial Processor | Non-Custodial Setup |
|---|---|---|
| Control of Funds | Processor holds keys | You hold keys |
| Counterparty Risk | High (freezes, hacks) | None (if secured properly) |
| Setup Complexity | Low (sign up and go) | Medium (requires tech integration) |
| Fees | Percentage per transaction + withdrawal fees | Flat subscription or zero take-rate + network gas fees |
| KYC Requirements | Strict identity verification | Often minimal or none (depending on provider) |
| Chargebacks | Possible (processor discretion) | Impossible (blockchain is final) |
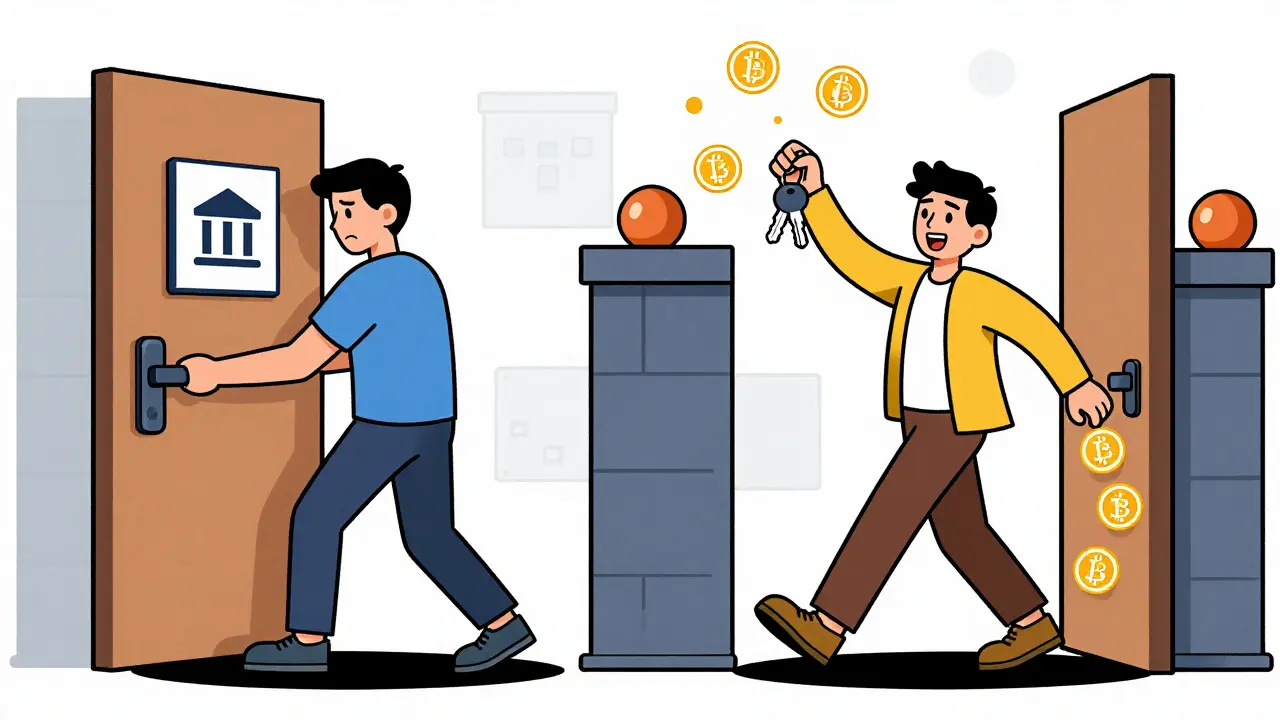
The trade-off is clear. Custodial solutions are easier but riskier. Non-custodial solutions require more upfront effort but offer ultimate sovereignty. For many indie hackers and solo founders, the ability to avoid chargebacks and account freezes outweighs the initial learning curve.
Tools for Solo Founders and Developers
If you are building a side project or a small SaaS, you don't need a massive engineering team to handle this. Modern tools have made non-custodial integration much faster.
For instance, platforms like TxNod is a non-custodial multi-chain payment gateway designed for developers, allowing merchants to accept crypto payments directly to their own wallets without intermediary custody. allow you to connect a Ledger or Trezor directly. They generate invoices, watch the blockchain, and send signed webhooks to your server. The key difference here is that the SDK verifies the payment addresses locally against your public keys. You don't have to trust the gateway to send money to the right place; the math proves it. This adds a layer of trustlessness that pure API-based gateways sometimes lack.
Additionally, AI coding agents can now help set these integrations up rapidly. By providing clear documentation and schema-first SDKs, modern gateways enable developers to spin up a working checkout in hours rather than weeks. This democratizes access to non-custodial billing, making it viable for pet projects and startups alike.
Common Pitfalls to Avoid
Mixing Networks: Ensure you are sending and receiving USDT on the correct network. Sending ERC-20 USDT to a TRC-20 address will result in lost funds. Always double-check the network type before publishing an invoice.
Ignoring Confirmations: Don't fulfill an order the millisecond you see a pending transaction. Wait for the necessary block confirmations. On Ethereum, this prevents issues with transaction reorganizations where a payment might disappear if the block is orphaned.
Poor Error Handling: What happens if a customer sends too much? Or too little? Your system should handle partial payments gracefully. Decide beforehand if you will refund the excess or keep it as a tip. Automate this logic in your webhook handler.
Next Steps for Implementation
If you are ready to start accepting ERC-20 USDT non-custodially, follow this path:
- Select your wallet: Start with MetaMask for testing, but plan to integrate a hardware wallet like Ledger for production security.
- Choose a gateway: Evaluate providers based on their support for ERC-20, webhook reliability, and whether they offer SDK address verification. Look for transparent pricing models, such as flat subscriptions rather than hidden percentage fees.
- Build the sandbox: Use testnets (like Sepolia) to simulate payments. Create dummy invoices, send test USDT, and ensure your webhook receiver logs the events correctly.
- Go live: Switch to mainnet. Start with small amounts to verify the end-to-end flow. Monitor your server logs closely for the first few transactions.
Taking control of your payments is a significant step. It removes intermediaries, reduces fees, and eliminates the fear of arbitrary account closures. With the right tools and a bit of technical know-how, a non-custodial ERC-20 USDT setup is not just possible-it is often superior to traditional methods.
What is the difference between ERC-20 USDT and other USDT versions?
USDT exists on multiple blockchains. ERC-20 USDT runs on the Ethereum network. Other versions include TRC-20 (on Tron), BEP-20 (on BNB Chain), and others. They are not interchangeable. You must use a wallet and gateway that specifically support the network you intend to bill on. ERC-20 is widely supported but has higher transaction fees compared to networks like Tron.
Do I need KYC to use a non-custodial payment gateway?
It depends on the provider. Traditional custodial processors always require strict KYC. Many modern non-custodial gateways, particularly those targeting developers and solo founders, operate with minimal or no KYC requirements because they do not hold your funds. Since the money goes directly to your wallet, the regulatory burden is lower. Always check the specific terms of service of the gateway you choose.
How do I protect my private keys?
The best protection is a hardware wallet like Ledger or Trezor. These devices store private keys offline and require physical confirmation to sign transactions. Never enter your seed phrase into a website or app. Back up your recovery phrase on paper and store it in a secure, physical location. If you use a software wallet like MetaMask for daily operations, ensure your computer is free of malware.
Can I accept USDT without a website?
Yes. You can simply share your wallet address via email, social media, or messaging apps. However, this manual method lacks automation. You will need to manually verify payments on a blockchain explorer and manually deliver your goods or services. For any volume beyond one-off transactions, integrating a gateway or using invoicing software is highly recommended.
What happens if a customer sends the wrong amount?
In a non-custodial setup, the transaction is final. If they send less, you decide whether to fulfill the order partially or request the balance. If they send more, the excess stays in your wallet. Unlike credit card processors, there are no automatic chargebacks or refunds initiated by the network. Any refunds must be initiated by you, manually sending tokens back to the customer's address.